In Website Creator Editor, elements (text fields, images, map, etc.) are always placed directly next to each other. Spacing can be inserted in two ways – either directly on the element or put a spacing element in between.
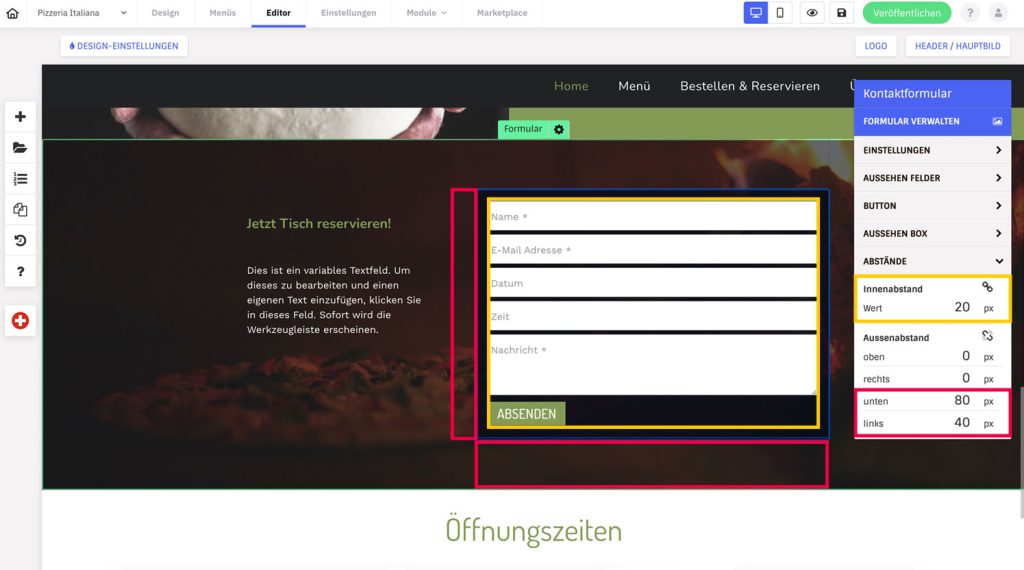
Internal and external distances:
- Click the gear icon on a placed element to open its settings
- Open the “Distances” tab in the settings
- There you can define distances to the inside and outside. Tip: Click on the chain icon to set the values for each side individually.
The advantage of the inner and outer distances is that you can define the values exactly. And on mobile, these are automatically adjusted so you don’t have unnecessary spacing in there.

Element intermediate distance
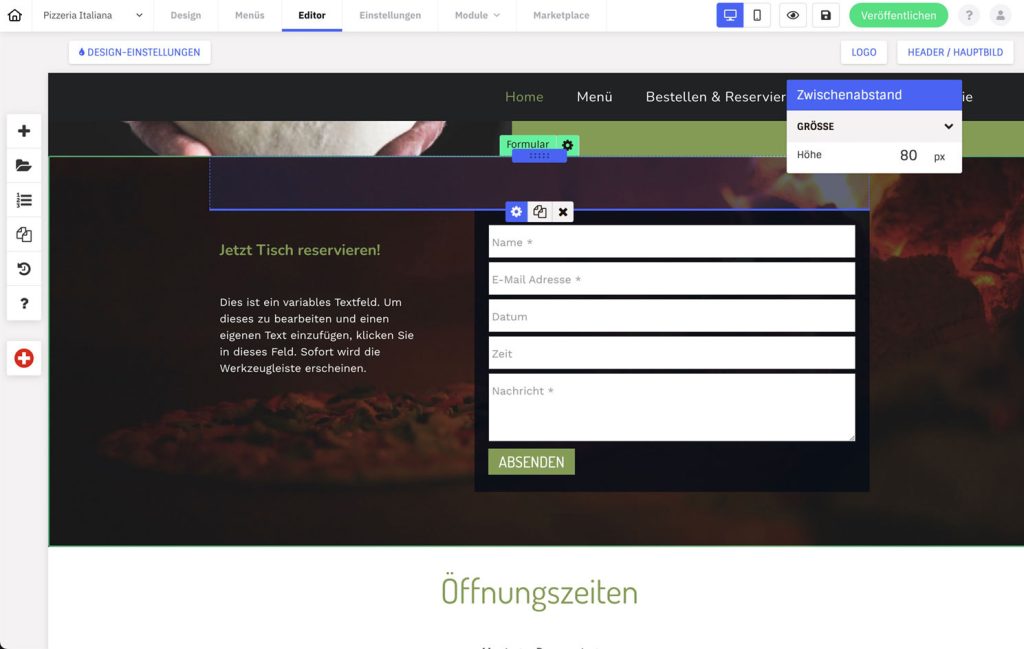
The spacing is nothing more than an empty field that you can place between elements and drag with the guides to the desired size or define a value in the settings.
- In the editor, click the“+” symbol in the left column.
- Go to category “Layout
- Drag and drop the Spacing element to the desired location in the content.
- Now you can customize the element by moving the green boundary bar as desired and also change the height with the mouse or via the settings (gear icon).
